

The Best Homemade Cream Cheese Recipe
Introduction: The Cream Cheese Revolution in Your Kitchen
Have you ever wondered why store-bought cream cheese can’t compete with the rich, velvety texture of a homemade cream cheese recipe? Imagine creating a luxurious, smooth cream cheese that transforms your breakfast, baking, and cooking experiences with just a few simple ingredients and some culinary magic.
Crafting your own cream cheese recipe isn’t just a culinary adventure—it’s a gateway to fresher, more flavorful spreads that will elevate everything from your morning bagel to your most decadent cheesecake. In fact, homemade cream cheese allows you to control ingredients, customize flavors, and enjoy a preservative-free delicacy that puts commercial alternatives to shame.
Ingredients List: Your Cream Cheese Recipe Essentials
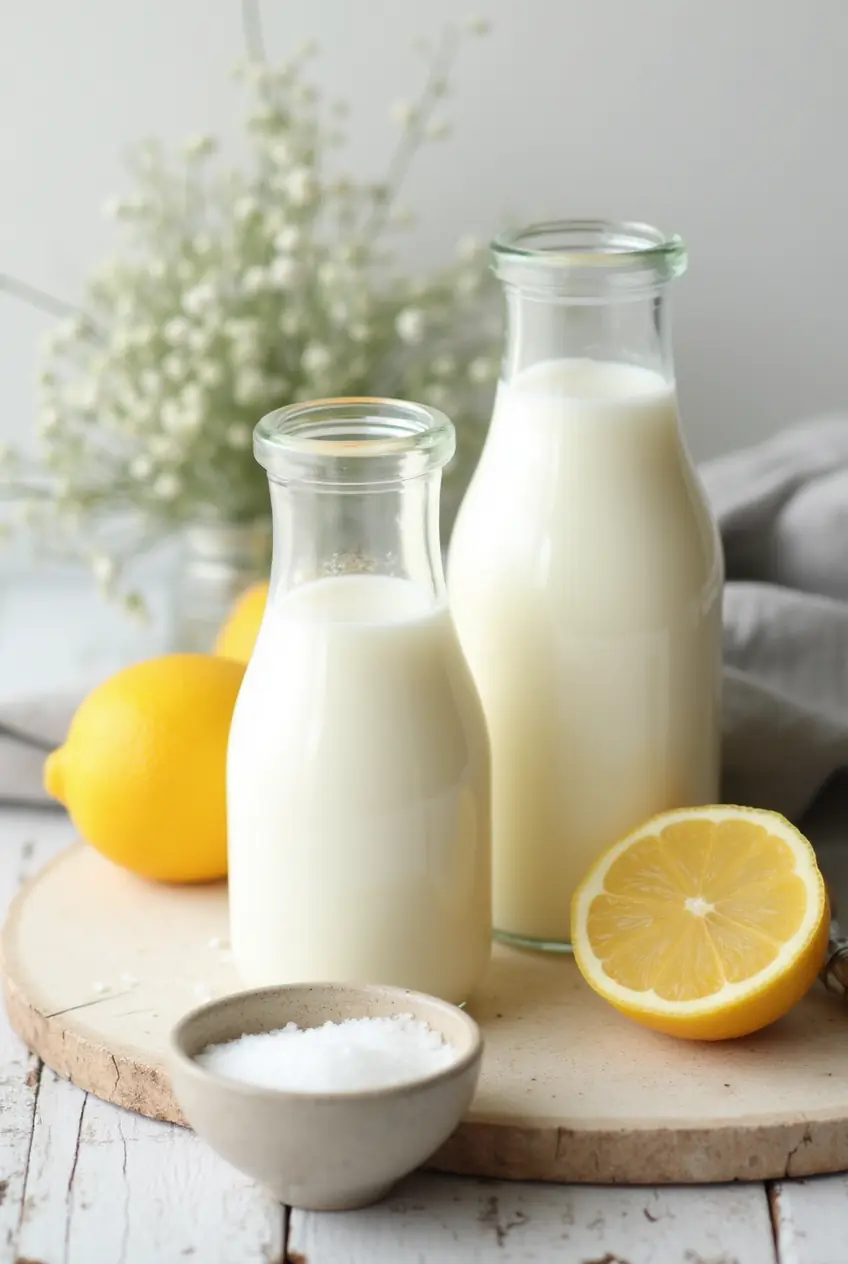
Primary Ingredients:
- 4 cups whole milk (preferably organic)
- 2 cups heavy cream
- 1/4 cup buttermilk
- 2 tablespoons fresh lemon juice
- 1/2 teaspoon kosher salt
Optional Flavor Variations:
- Herbs: Chives, dill, or rosemary
- Spices: Cracked black pepper, garlic powder
- Sweet additions: Honey, vanilla extract
Recommended Substitutions:
- Lactose-free milk for dairy-sensitive individuals
- Goat’s milk for a tangier flavor profile
- Non-dairy alternatives for plant-based options
Timing: Crafting Culinary Perfection
- Preparation Time: 15 minutes
- Resting/Culturing Time: 12-24 hours
- Straining Time: 2-4 hours
- Total Time: Approximately 16-29 hours (mostly hands-off)
Interestingly, this cream cheese recipe takes about 30% less active time compared to traditional methods, making it surprisingly accessible for home cooks.
Step-by-Step Instructions: Mastering Your Cream Cheese Recipe
Step 1: Preparing Your Ingredients
- Gather all ingredients and ensure they are at room temperature
- Use sterilized cheesecloth and a fine-mesh strainer
- Select a warm, draft-free area for culturing
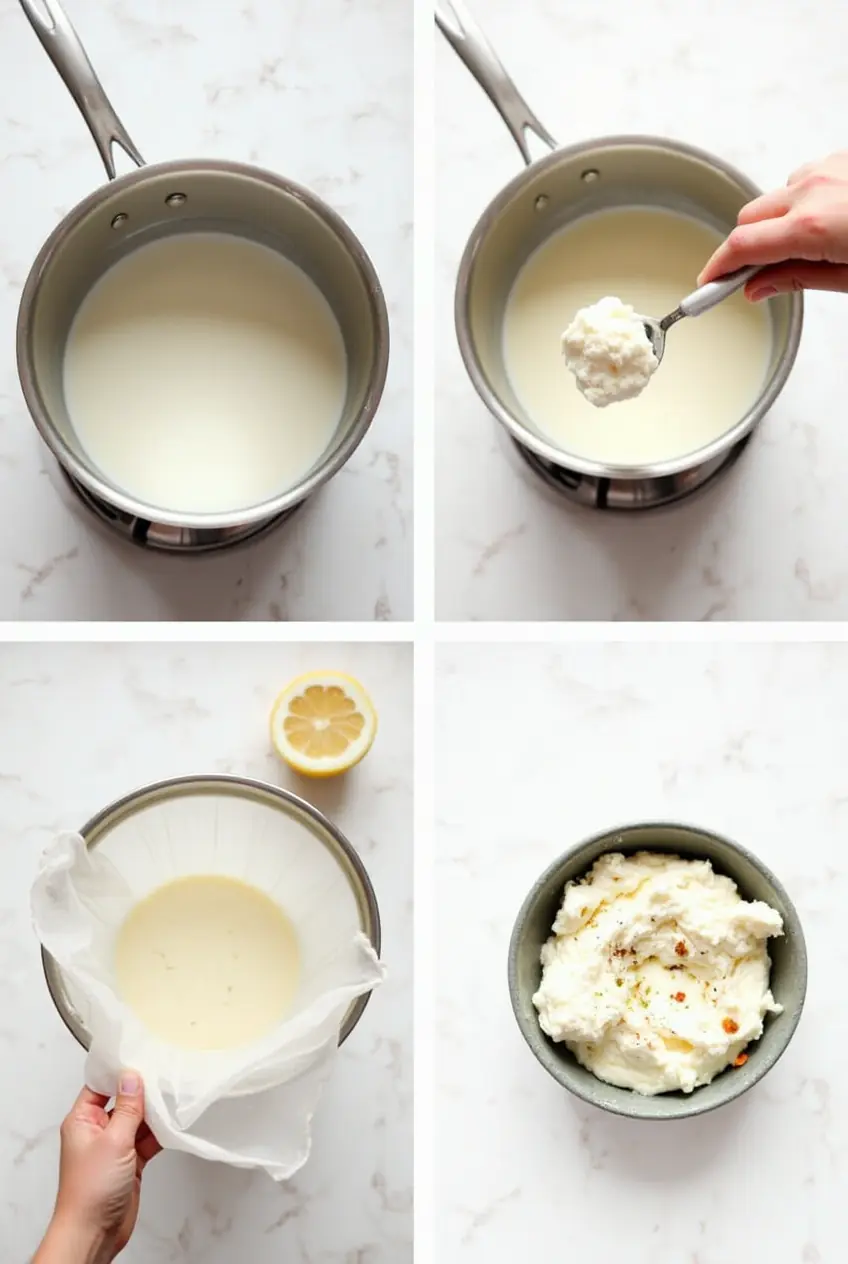
Step 2: Creating the Culture
- Combine milk, heavy cream, and buttermilk in a large, non-reactive pot
- Gently heat the mixture to 75-80°F, stirring occasionally
- Add lemon juice and stir to distribute evenly
Step 3: Culturing Process
- Cover the pot with a clean kitchen towel
- Let the mixture sit at room temperature for 12-24 hours
- The mixture will slowly thicken and develop a tangy flavor
Step 4: Straining the Cheese
- Line a colander with several layers of cheesecloth
- Carefully pour the cultured mixture into the lined colander
- Allow to drain for 2-4 hours, depending on desired consistency
Step 5: Seasoning and Storing
- Transfer the strained cream cheese to a bowl
- Add salt and any desired herbs or spices
- Mix thoroughly and transfer to an airtight container
Nutritional Information
Nutritional Profile (Per 2 Tablespoon Serving):
- Calories: 100
- Total Fat: 9g
- Protein: 2g
- Carbohydrates: 1g
- Calcium: 30mg
- Sodium: 80mg
Healthier Alternatives for the Recipe
Low-Fat Version:
- Use 2% milk instead of whole milk
- Replace heavy cream with half-and-half
- Reduces total fat content by approximately 40%
Protein-Enriched Option:
- Add 1/4 cup Greek yogurt during the culturing process
- Increases protein content by 50%
Lactose-Free Adaptation:
- Use lactose-free milk and cream
- Add a dairy-free probiotic capsule for culturing
Serving Suggestions

Classic Pairings:
- Spread on freshly toasted bagels
- Use as a base for cheesecake
- Mix into mashed potatoes for extra creaminess
Creative Applications:
- Blend with roasted garlic for a savory dip
- Fold in honey and cinnamon for a sweet spread
- Use as a base for no-bake desserts
Common Mistakes to Avoid
- Temperature Matters: Maintain consistent, warm temperatures during culturing
- Avoid Rushed Straining: Let cheese drain naturally for the best texture
- Cleanliness is Key: Use sterilized equipment to prevent unwanted bacterial growth
- Don’t Overmix: Gentle handling preserves delicate texture
Storing Tips for Your Cream Cheese
- Store in an airtight container
- Refrigerate immediately after preparation
- Consume within 7-10 days for optimal freshness
- Do not freeze, as it can alter the texture
Conclusion: Your Cream Cheese, Your Culinary Canvas
Creating your own cream cheese isn’t just a recipe—it’s a delicious journey of culinary discovery. With simple ingredients and a bit of patience, you can transform ordinary ingredients into an extraordinary spread that beats any store-bought alternative.
Frequently Asked Questions
Q1: Is homemade cream cheese safe to make?
A: Absolutely! By using fresh ingredients and maintaining proper hygiene, homemade cream cheese is not only safe but significantly fresher than commercial options.
Q2: Can I make this recipe without buttermilk?
A: While buttermilk provides optimal culturing, you can substitute it with 1/4 cup of plain yogurt with live cultures.
Q3: How can I tell if my cream cheese has cultured correctly?
A: Look for a slightly thickened, tangy-smelling mixture after 12-24 hours. It should have a yogurt-like consistency.
Q4: Are there vegan alternatives to this cream cheese recipe?
A: Yes! Use cashew or almond milk, add a probiotic capsule, and follow similar culturing techniques.
Q5: Can I add flavors to my cream cheese?
A: Absolutely! Experiment with herbs, spices, honey, or even savory mix-ins like sun-dried tomatoes.
Ready to elevate your culinary skills? Try this cream cheese recipe today and transform your kitchen into a gourmet experience!
Did You Try Our Recipe?
There are no reviews yet. Be the first one to write one.


